I Just Printed the Entire NISEI System Gateway at Home
Learn From My Mistakes
Yeah, I’m a masochist: I have a nice color printer, I live far away from the United States of America, and I find MPC’s cards excellent but their rates exorbitant.
Perhaps you, too, have watched the recent SUSD video, priced out a MPC Nisei run, thought “whoa there”, and are now thinking “maybe I could just print off my own deck”.
I can help! I have a handful of hot tips!
First of all:
The proper way to make a nice playing card at home is a topic of much debate on the Print n’ Play forums at BGG, where the process seems to involve some dark alchemy involving sandwiching a nice thick cardstock between two sheets of printed glossy paper with spray on adhesive, cutting the cards, using a special rounded corner tool to get those nice edges, and applying a card lacquer as the final step to protect and seal the cards and give them a nice glossy smoothness for good card feel.
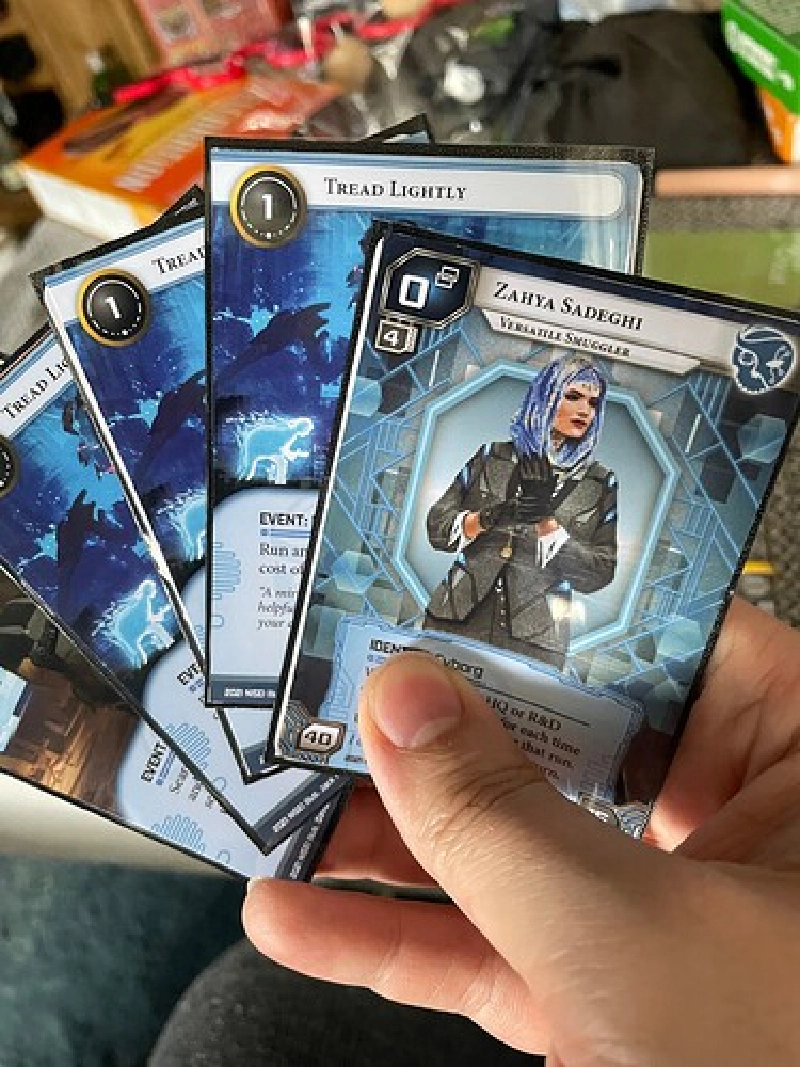
I am nowhere near this dedicated. My technique is something much dumber and almost infinitely faster: thin glossy inkjet paper in an opaque card sleeve, with a playing card behind it to give it some weight and snap. This is a technique so foolproof that an idiot, a child, heck, even I could do it.
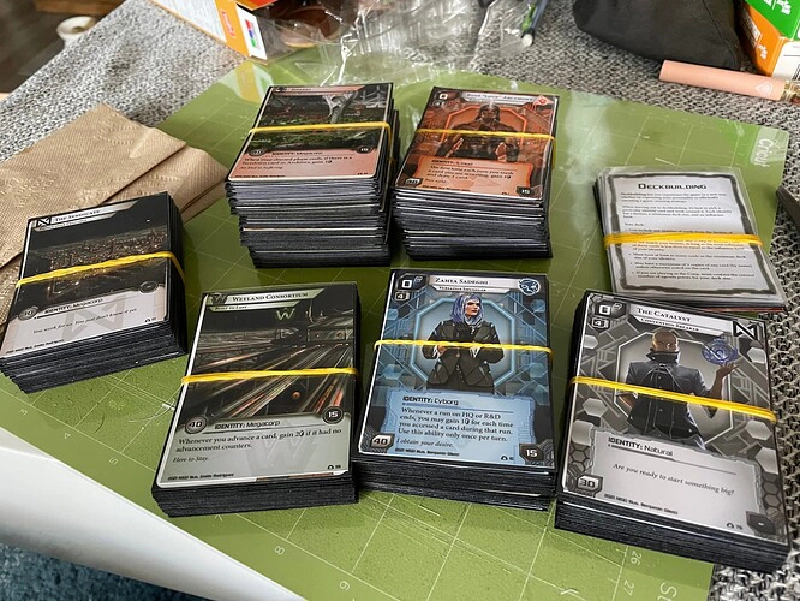
Printing out the full System Gateway takes 26 pages of glossy inkjet paper.
Printing Lessons Based on Stupid Mistakes I’ve Actually Made:
(on this project and others)
- A lot of cardstock, if you try to print sharp colors or photo-quality images on it, you’re going to end up with a muddy, washed out mess as the ink sinks into the cardstock’s rich nooks and crannies where it forms itself into a grey-brownish muck. You don’t want this for your cards. Nobody wants this. Glossy paper is for crisp prints. Rough cardstock is for mistakes.
- Inkjet printers either have pigment or dye based inks, and if you don’t get the right kind of glossy paper for that ink, then the ink literally will not adhere to the paper and that ends up looking extremely bad.
- Everything in North America is Letter, not A4. The print files are sized such that scaling should not be necessary at all.
If you don’t have a home printer capable of spitting out the kind of glossy nice quality you want for cards, most print shops, Kinkos’, or Staples-s will print 26 nice glossy color pages for you for … about a buck a page.
I do have a really nice printer, though. I managed to save $30 on print fees by spending hundreds of dollars on a printer. That’s economics for you, baby!
Cards and Sleeves: You Need ‘Em
Once you’ve got your print ready, you can proceed with exactly four decks of standard playing cards: there are at least 14 cards in the set you don’t need to sleeve (blanks and “welcome/good bye” cards), more if you don’t want to sleeve the rules-for-draw-and-stud-netrunner - so, printing every one of the 21X unique cards would take just under 4x55 card decks (52+2 jokers+rules).
Don’t buy the cheapest sleeves you can get your hands on, or clear sleeves, that’s not going to be a good idea. I have some dirt-cheap sleeves I used for an earlier print-and-play project and they just feel terrible to play with.
Okay, now you have 26 pages of cards, 4 decks of playing cards, and 300 sleeves (if you buy 200 you’re going to have to make some ugly decisions). All you need to do is carefully cut out all of these cards. It’s time to sit with a podcast and be very patient and quiet for a couple of hours.
Wait, Am I Actually Saving Money, Here?
If you’re following the budget here at home, at $30 for the print, three packs of $10 sleeves, and four packs of dollar store ($2.50) playing cards, you’re in it for $70. This is still fairly exorbitant, but we’re comparing against $75+$25 S&H for MakePlayingCards, so so long as we regard our time as worthless (and boy do I ever) we’re coming out slightly ahead.
Not terribly useful lessons I’ve learned about cutting:
- Machines like the Cricut or Silhouette are going to seem like a magic bullet for tasks like this, but actually they are very frustrating: their registration is always a LITTLE OFF, if their blade catches they can easily mulch an entire page (and inkjet ink isn’t cheap, that’s like 50 cents worth of paper they just chewed up), and ultimately setting up cut runs takes quite a bit of time.
- A nice paper guillotine will make short work of a big card cutting project like this, although: these cards in particular are printed 9-to-a-page, giving you almost no margin for error: you have to do the pages one at a time and be very, very precise about lining up your cuts. Great if you have access to a good guillotine.
- A big cutting surface, an x-acto knife, and a metal ruler does a good job and produces very precise results.
- Ultimately what felt most satisfying and meditative was just sitting with a pair of regular craft scissors and cutting these by hand.
Anyways, once you’ve cut, carded, and sleeved your deck, you’re good to go.
Now on to the even more difficult stage two: attempting to convince your wife to play Netrunner with you.
2025 editor’s note: I could not, in fact, accomplish this.
Tokens
Tom had one recommendation during this video that, actually, I thought was worth chasing a little bit.
Netrunner comes with a full set of little cardboard tokens. So does the Arkham Horror LCG. NISEI doesn’t have the Netrunner tokens, but… I still have the ol’ Netrunner Core Set from 2012, I could dig that out if I wanted a full set of tokens. I kinda don’t like cardboard tokens. They’re small and light and fussy and they don’t feel satisfying to move around and play with.
On top of that, my home-printed Ascension rip-off doesn’t have any tokens at all!
In some of my games, I’ve replaced cardboard token money with REAL METAL MONEY - after I tried Century: Spice Road with the satisfying metallic clink of its coins, I was like “huh, this is nice”. Real Metal Money is more satisfying, but it’s generally quite expensive.
Arkham Horror LCG calls for 5 different types of tokens (health, sanity, resources, clues, and doom) and getting them all out and sorta smooshing them in separate little piles (or individual bowls if I’m feeling extra) takes a bunch of set-up time and table space. Set up time and table space are at a real premium around here!
Netrunner, too, calls for resources, bad publicity tokens, brain damage tokens, tag tokens, and virus tokens - so - again, 5 different types of tokens. “Brain Damage”, “Tag”, and “Virus” also only come in to use with very specific deck types , so, like, if you’re putting out the “Brain Damage” baggie there’s a 95% chance it sits unused.
So, uh, NISEI, just right on the face of it, came in hard with a big solution to the token problem by giving players cards for “bad publicity” or “brain damage” or “tag” - now, you can have just one kind of token and, if it’s roaming around free, it’s a resource, but if it’s on the runner’s “brain damage” card it’s a brain damage. Bins! They dramatically reduce the set of different chip types that are required. Particularly good for rare kinds of counter.
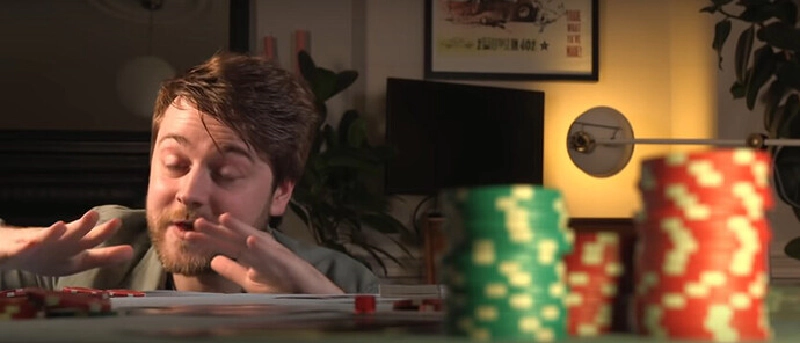
Anyways I picked up some multi-colored poker chips to use them with these card games and whoof. Good purchase. We played the Arkham Horror LCG and setting up the token pools was as easy as grabbing stacks of differently colored chips and plooping them on the table. The stacks were space efficient and satisfying to use.
2025 editor’s note: they’re also great for Dungeons & Dragons!